This article highlights how easy it is to use drag and drop digital signage widgets.
Digital Signage widgets are a great way to visualise what your organisation does, what you offer, and add value to your screens. From pictures of staff and latest product offerings and video testimonials to live weather reports and data charts, there are no limits to what you can display. Drag and drop digital signage software provides you with an easy way to add content and widgets to your digital signage screens. When sourcing digital signage software most providers should offer drag and drop solutions as opposed to more complicated alternatives.
Here’s how simple it is…
How The Magic Works.
Digital signage widgets have transformed the level of content users can display on their digital signage screens. In the past users may be limited to more simple forms of media such as plain images or videos. However, through drag and drop digital signage widgets users can pull live data feeds from spreadsheets, live news, and company RSS feeds to largely increase the value of onscreen messages and content. In addition to this live weather and social media, widgets can give your screen a more personal touch.
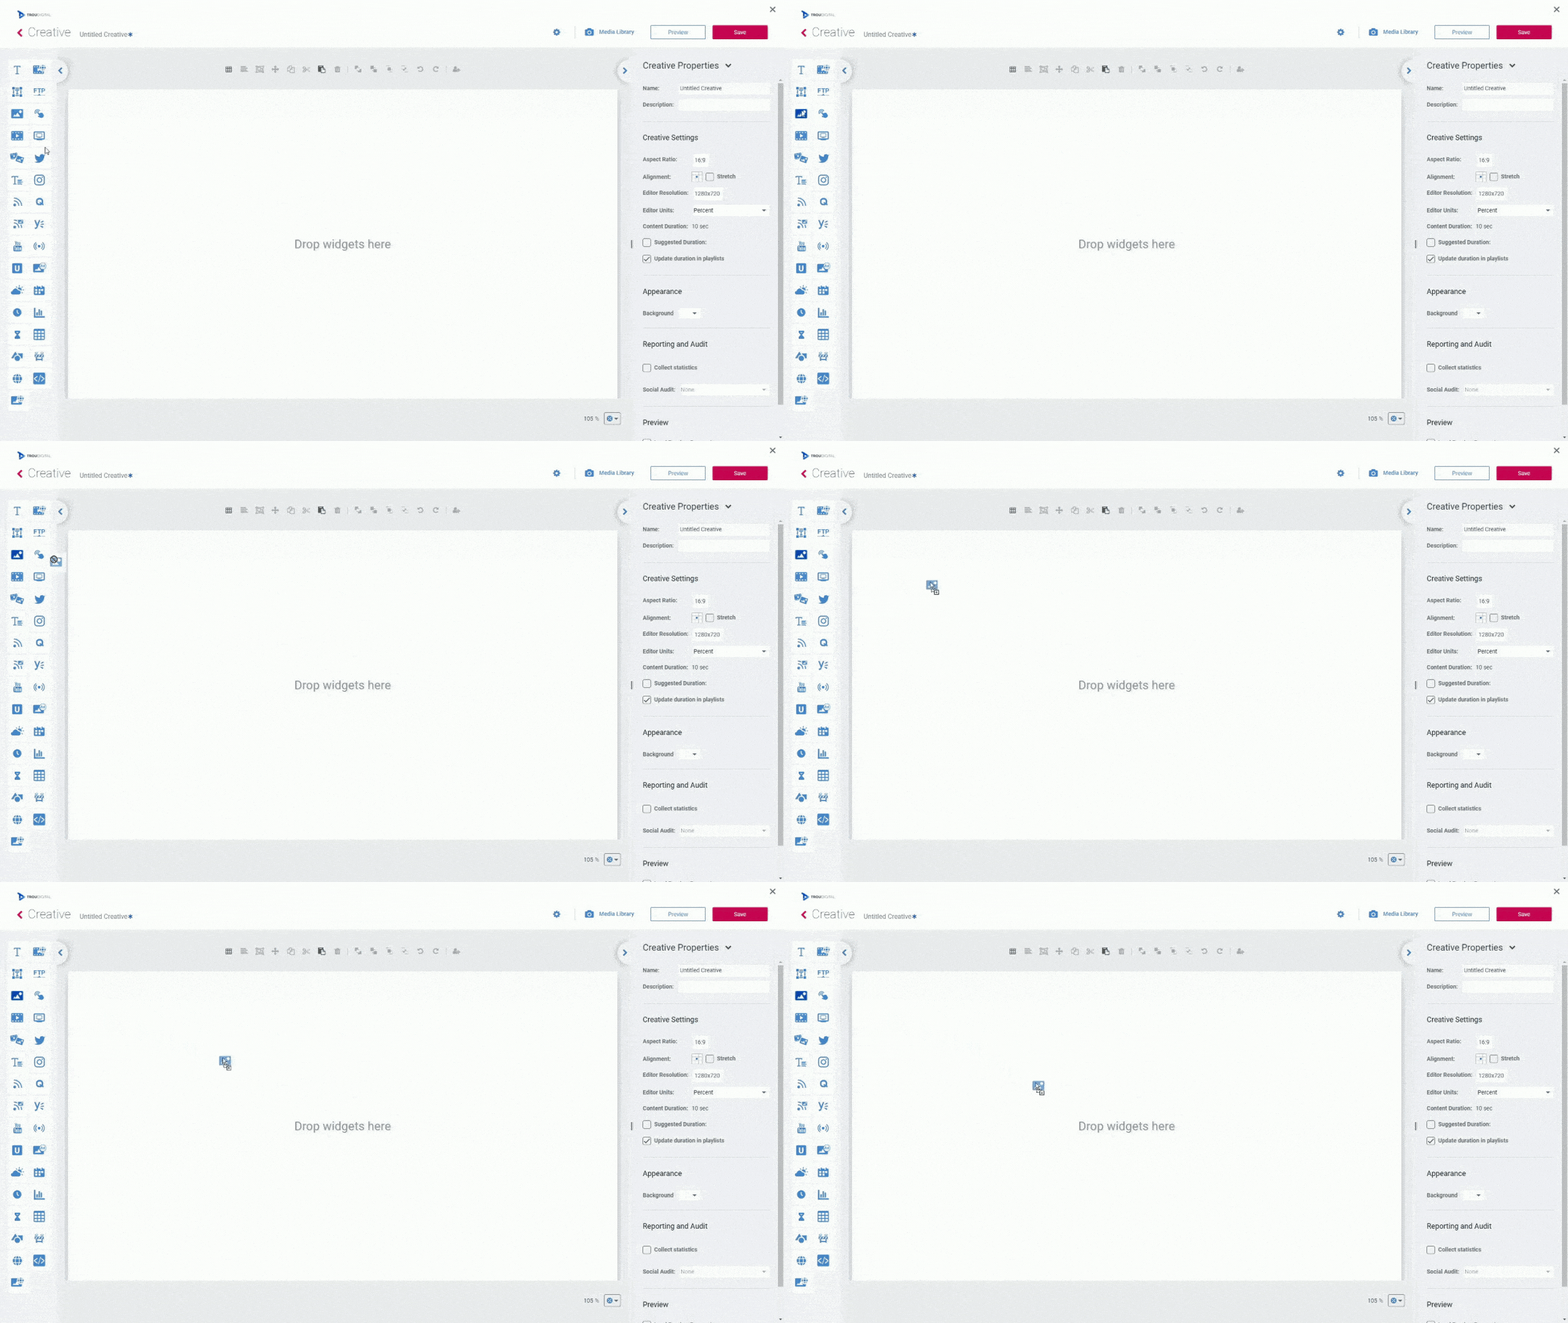
1. Click, Drag And Drop The Widget Onto Your Canvas.
In our example we have chosen the image widget. It really is as simple a clicking, dragging and dropping your chosen widget onto the canvas. With most digital signage software, this is exactly how you get all the other widgets onto your canvas too!

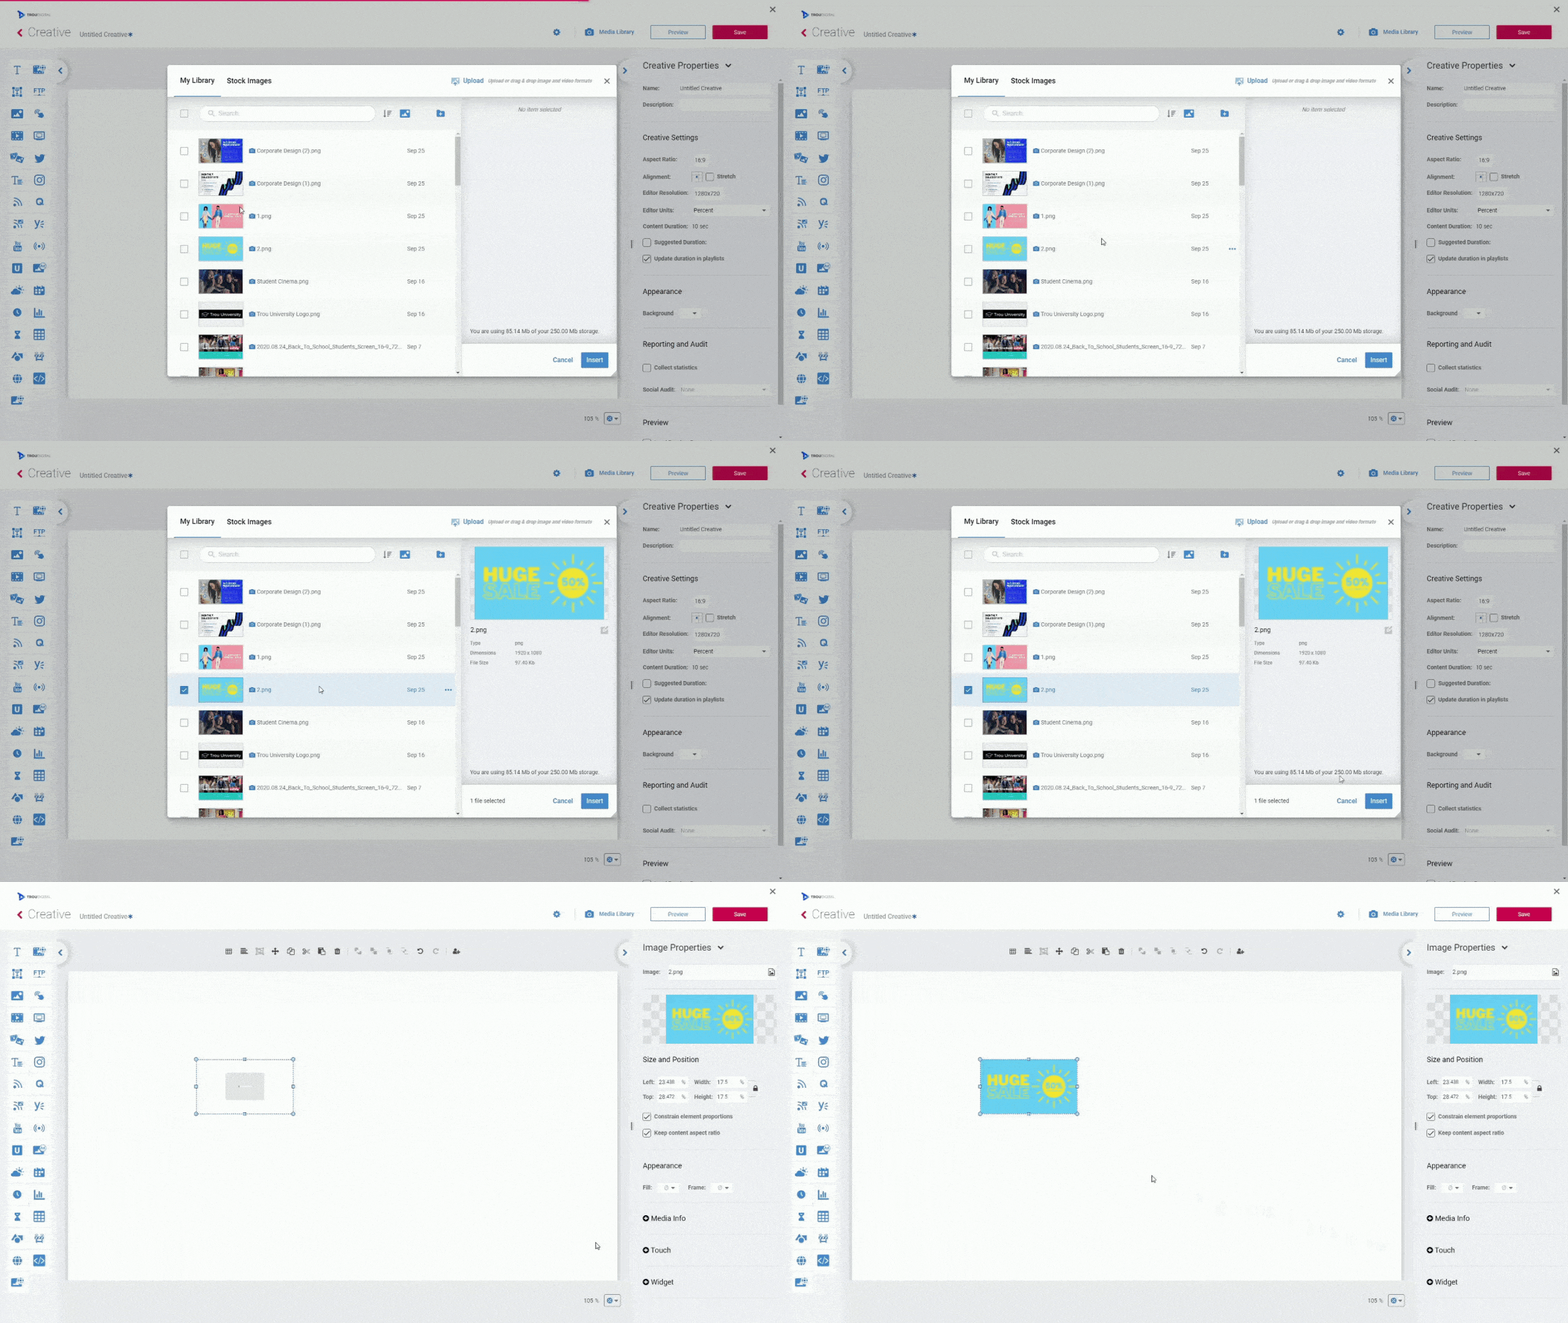
2. Select The Image You Want To Display On Your Screen.
With the image widget, you will need to select an image from your media library. You can also press ‘upload’ and upload new images or video to your account. Once they have been uploaded simply follow the GIF example below.
There will be different media types to select for different widgets. For example, if you are using the Instagram widget you may need to select the Instagram account you want to display before proceeding. However, for all drag and drop digital signage widgets, this process is largely the same.

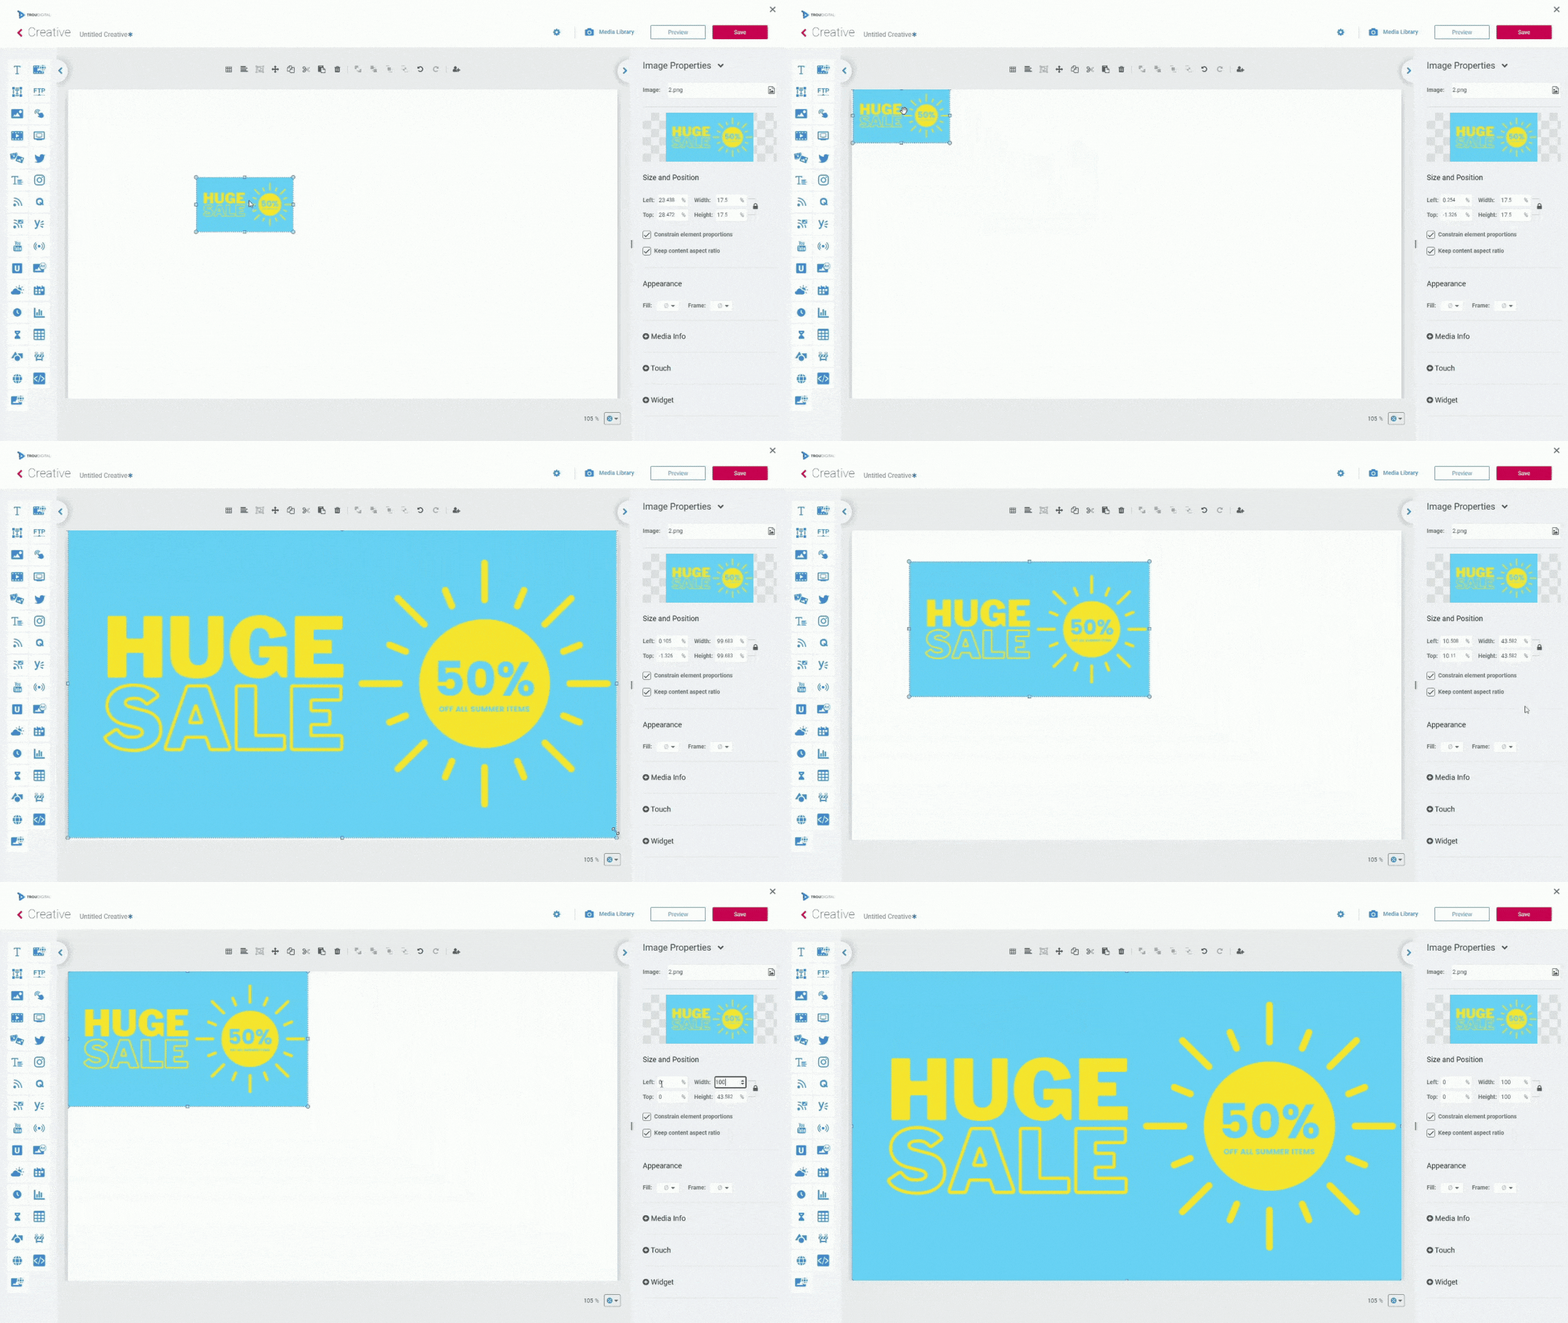
3. Resize The Widget To Suit Your Design.
Once you have successfully added your widget to your canvas, it is time to resize the widget to meet your design requirements. Thankfully modern digital signage software makes this process extremely easy. There are two main ways to resize your widget.
- Use the toggles in the corners of the widget:
Using the toggles to resize your widget is a great way to precisely change the size of the widget in real-time. It is as simple as dragging the corners in and out until you reach your preferred size.
2. Using the ‘Widget Properties’ Tab:
The widget properties tab is the quickest way to ensure your widget fills the screen exactly. By simply changing the ‘size and positioning’ settings to:
Left = 0% Top =0% Width = 100% Height = 100% and you’ll have peace and mind your widget is full-screen and not spilling over the edge.

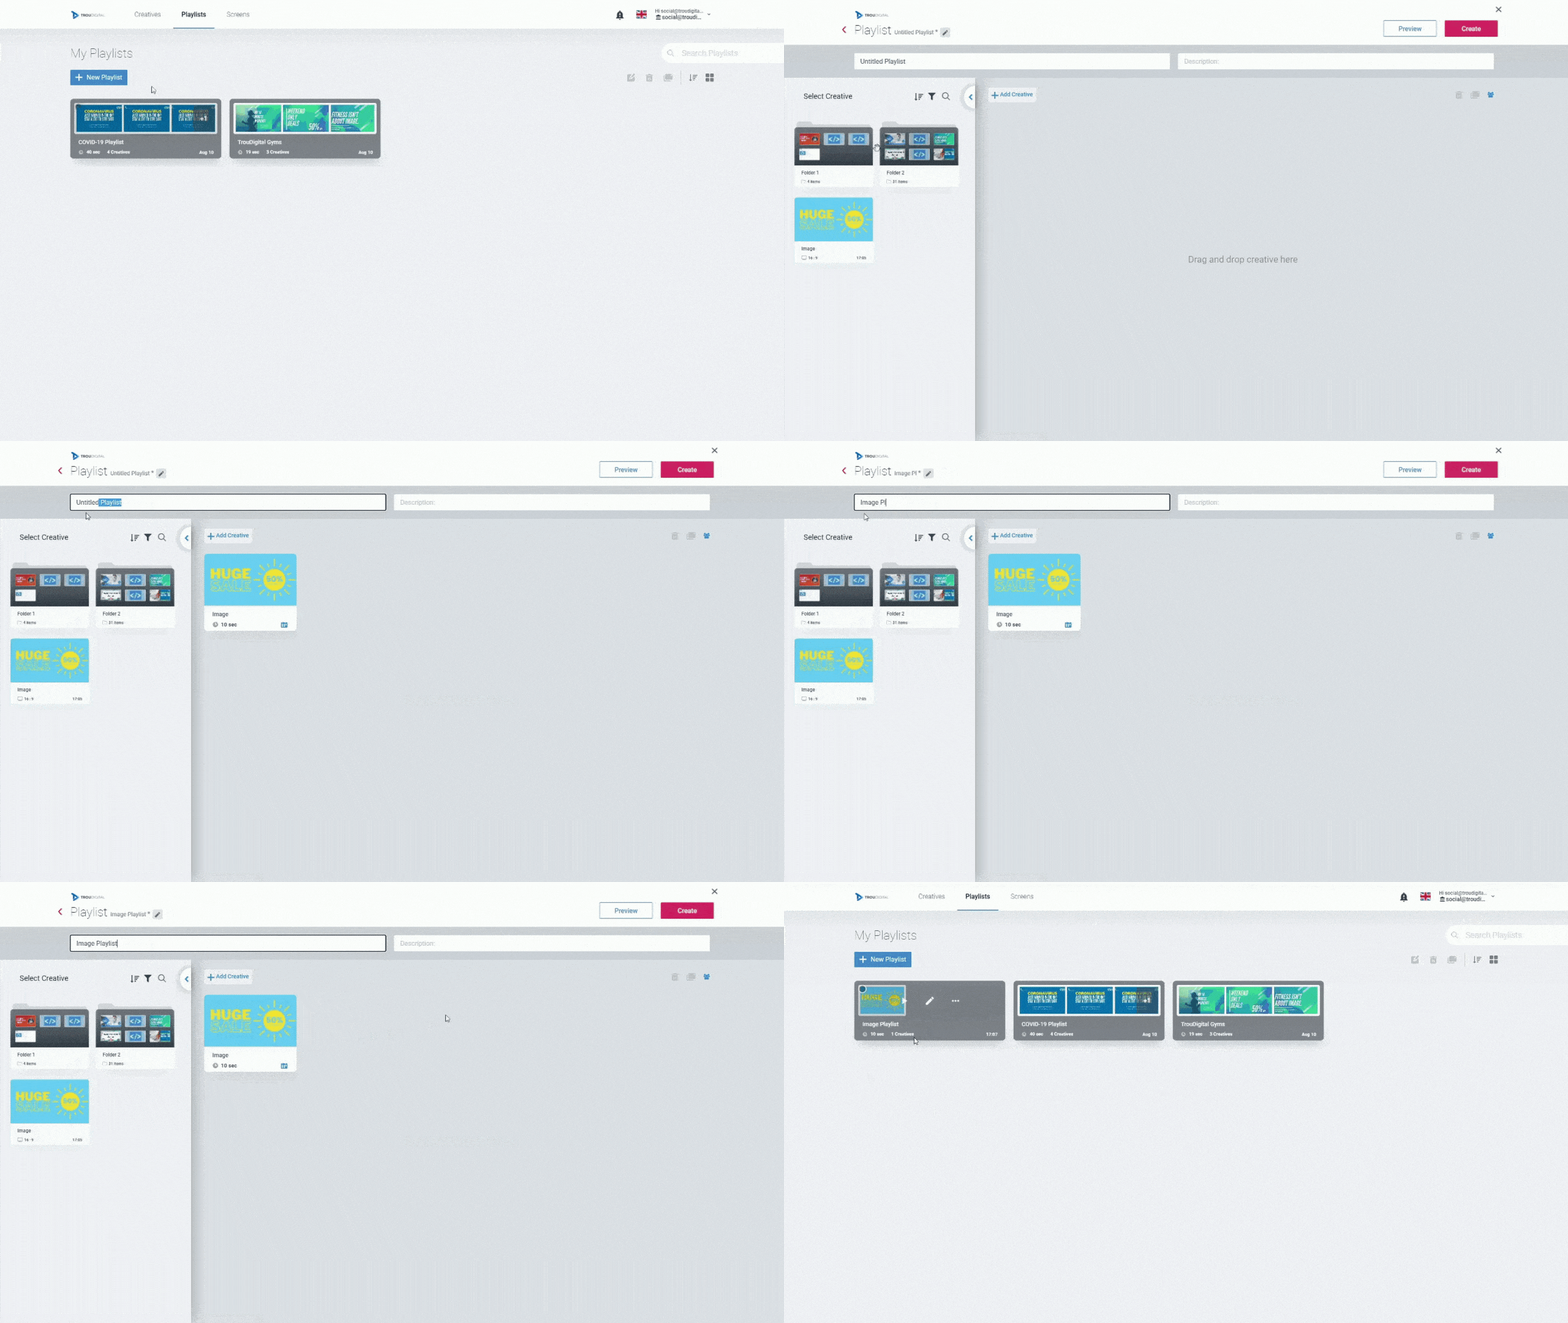
4. Apply Your Content To A Playlist.
In the playlists tab you can either add your new creative/content to an existing playlist or make a new one.

5. Apply Your Playlist To Your Screen.
The final step is applying your newly created playlist or current playlist to a screen. Simply select a screen already on your account and add the playlist to it. If you need to make a new screen follow the GIF below before adding your playlist.

6. Enjoy.

