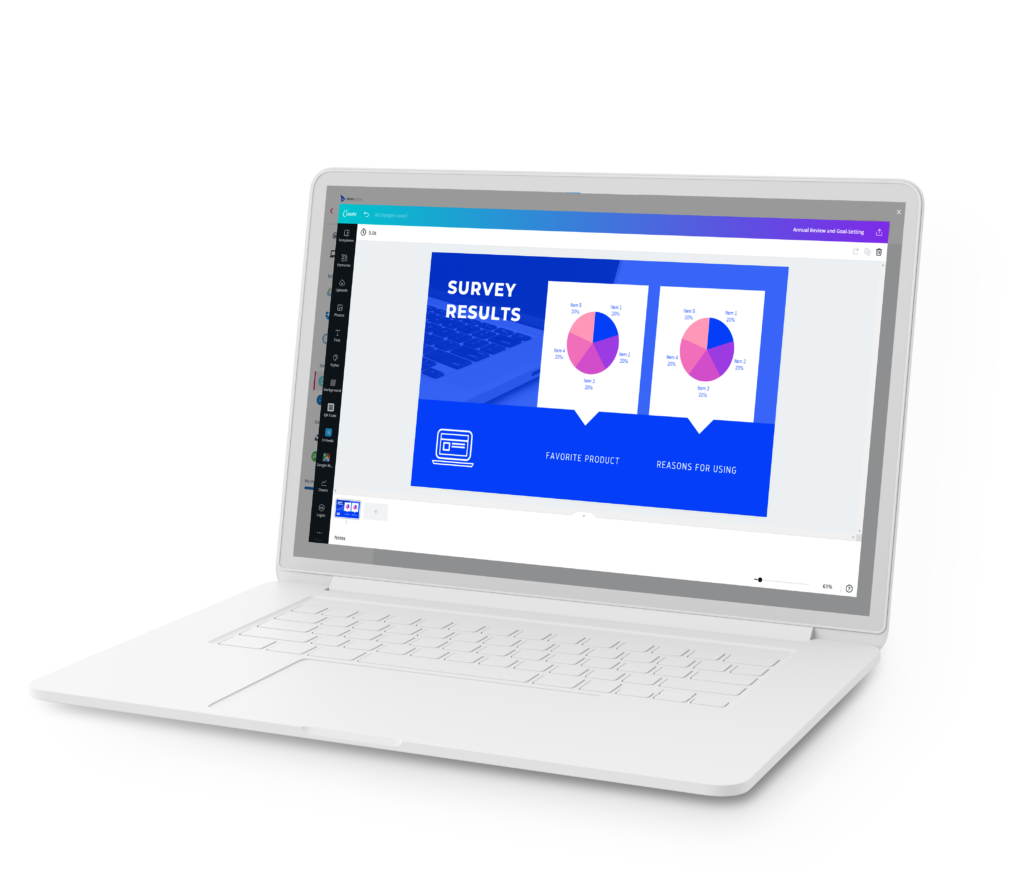
Canva is a graphic design phenomenon and one of the world’s fastest-growing startups being valued at $15 Billion. Taking the world by storm, the online design platform makes anyone look like a well-seasoned graphic design veteran (yes we love Canva). Although great for every aspect of marketing, design, and communications media, the design platform is gaining increased interest for Canva digital signage.
Through hundreds of thousands of pre-made templates to suit every industry, use-case, and niche, Canva has taken the fuss out of design. Before its inception, organisations would need to turn to expensive design teams, or highly trained individuals whenever they needed some form of visual content made. Now, however, the same organisation will open Canva, search a template, edit the text and colours, and press download. This process can literally take minutes.
In this guide, we’ll take you through everything you need to know about Canva Digital Signage.
What is Canva?
It is an online graphic design platform that allows users of all abilities to create professional designs for a variety of use cases. Through instantly accessible templates, users are able to quickly create designs for posters, social media, videos, presentations, and more.
One of Canva’s biggest drawers is its huge content library. Through a number of integrations, users have access to a near-infinite number of images, videos, elements, and more. This gives users full control over their content and speeds up the design process.
What is Canva Digital Signage
Canva digital signage is the process of using Canva to create content for digital signage displays. Users can simply download their favourite Canva designs and upload them to their digital signage software, where they will then be deployed to screens. Some software will integrate fully with Canva, and users can create designs right in the content creation studio (ask us about this!).
The most common pain points in any industry when it comes to visual content are time, design, and budget. In terms of time, professional-looking designs can take organisations hours to create. In terms of budget, organisations need to consider the hourly rate of a designer, and especially for ongoing work, this cost will rack up! For design, some find it hard to get inspired. Canva has answered the call to these pains. Users pay a small monthly fee and have access to a huge number of templates, to create designs in minutes. This ease-of-use has travelled over to digital signage. Users are now using the platform to create great-looking designs for their screens and we’re going to show you how.

How can I use Canva for my Digital Signage?
As the online design platform grows in popularity the synchronised use of digital signage and Canva becomes better and better. In its most simple form, a user will simply upload their Canva designs to their digital signage software before deploying them to their screens. These uploads are often in the form of image and video files.
A slightly newer and more streamlined way of doing things is through fully integrated software. This digital signage software already integrates with Canva. This means users are able to create their digital signage content in Canva, right inside their digital signage studio. Once they have made their design, all they need to do is press add. Like magic, the content will appear within the digital signage studio design canvas. This makes the digital signage content design process frictionless.
Now we’re going to show you some different ways you can use Canva to create digital signage content.
Using Canva Templates for Digital Signage
Using Canva’s pre-made template library is one of the fastest and easiest ways to create your content. There are two ways. Here’s how you do it.
1. Start from the Homepage
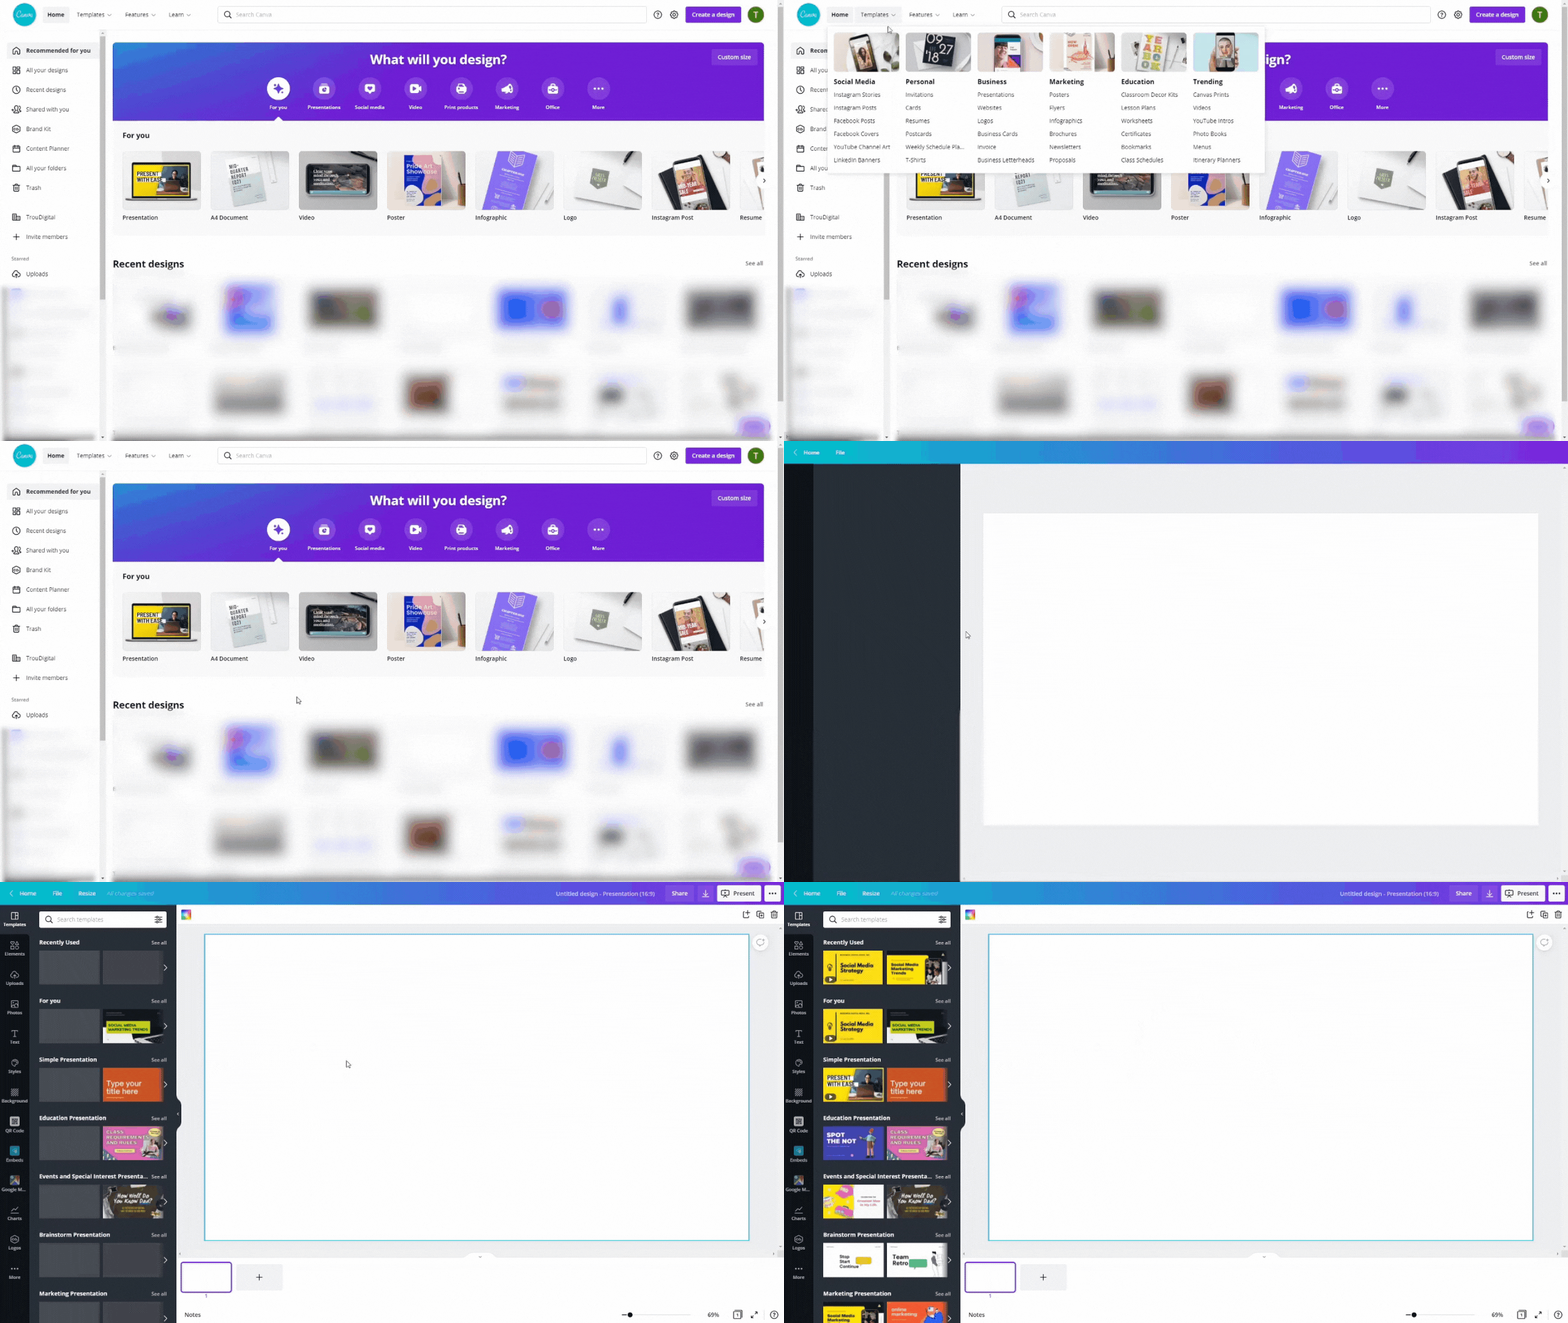
Simply select the type of media you are looking to design from the Canva homepage. Canva will serve up some great templates that will meet some pre-made dimensions. Either use the “templates” tab in the main menu or select your media type from the homepage.
Once you have chosen your media type the design Canvas will open. From here you can scroll down the templates tab and pick a design that suits you. Then, you can edit literally everything on the template to meet your specific requirements.

2. Set Your Dimensions
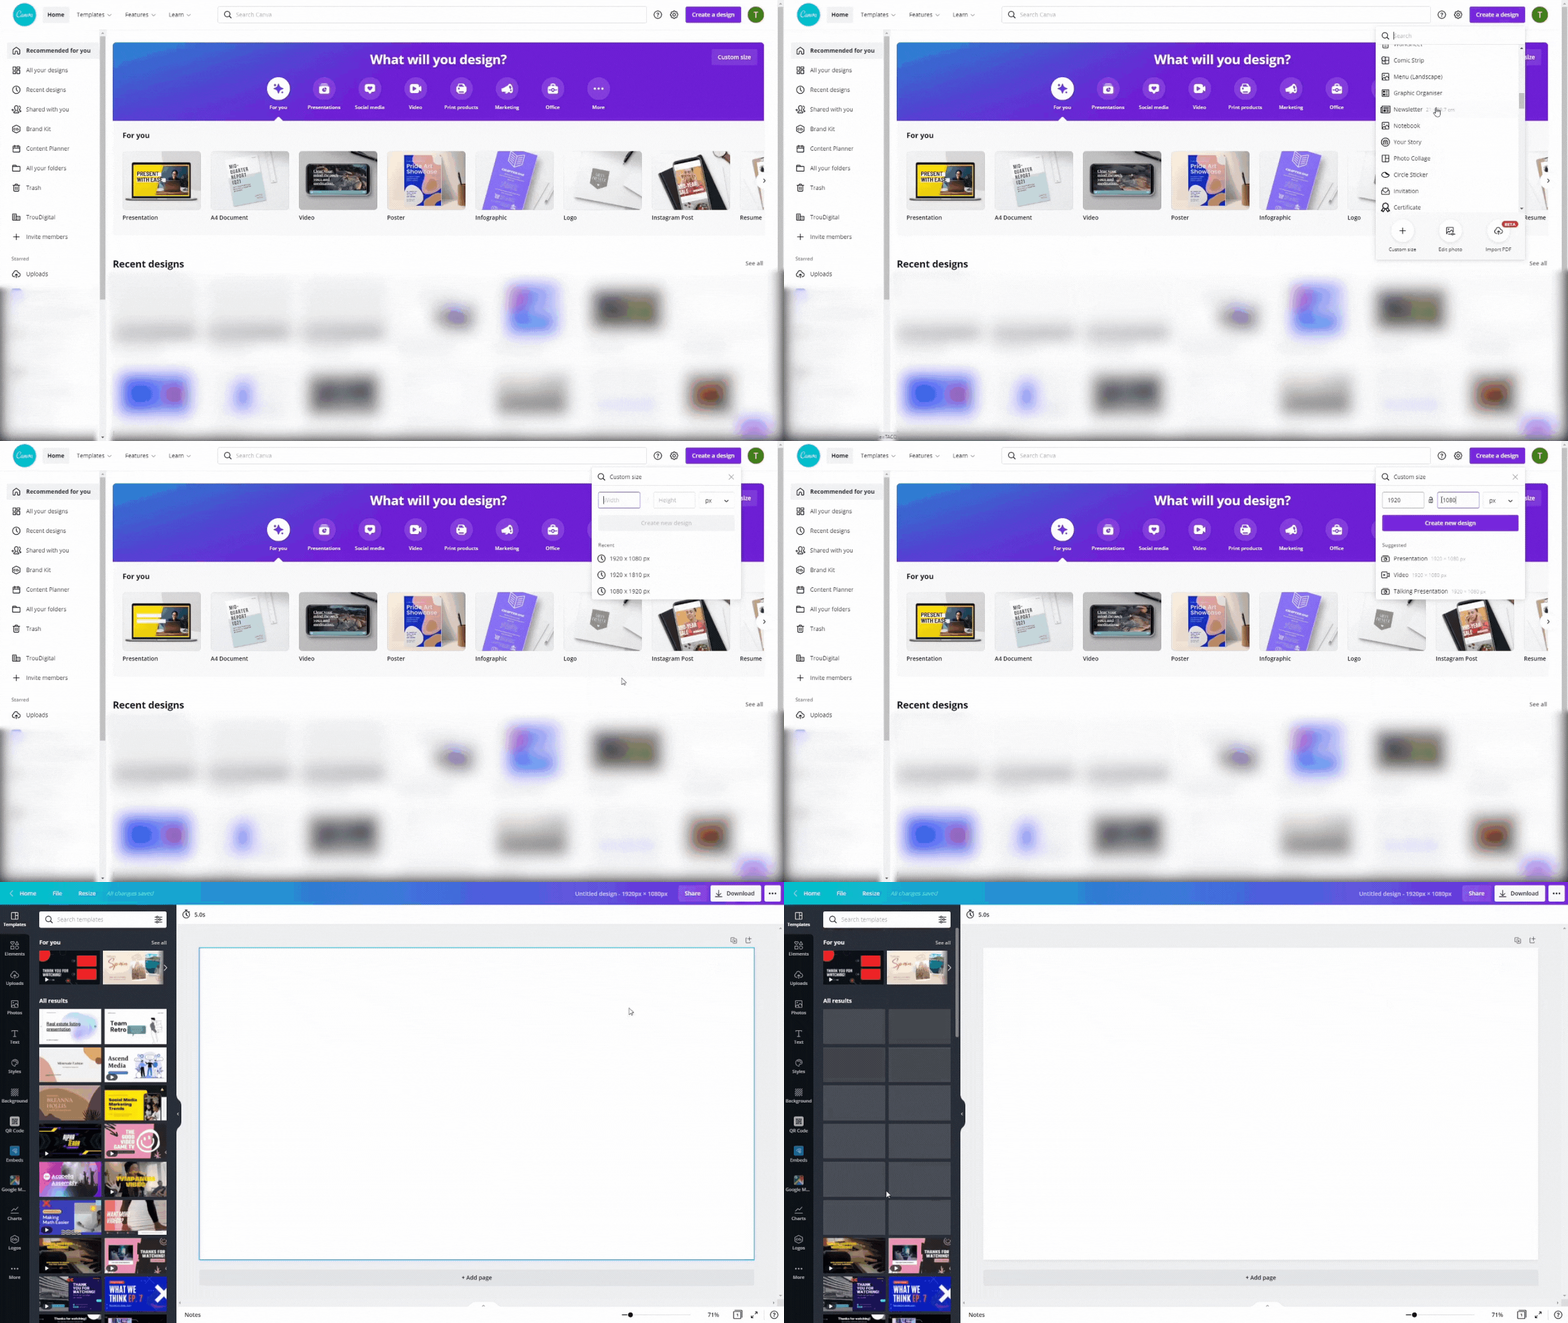
In Canva, navigate to the top right corner and press “Create a design”. Then either select one of Canva’s pre-made sizes, including the official dimensions for social media, presentations, logos, etc. Or press “Custom size” and enter your dimensions. For an HD (1080p) landscape screen you’ll need to enter “1920” for the width, and “1080” for the height. If your screen is a portrait, simply swap the numbers around to “1080” for the width and “1920” for the height. It goes without saying that you can enter whatever size you require here. So no matter the size or shape of your display, you can always make great-looking content.
When you’re happy with your dimensions, press “Create new design”, and the design canvas will open.

Editing your Templates
Once you’ve chosen a template, you’ll likely need to edit certain elements so it meets your branding and required needs. Editing these templates couldn’t be easier and we’re going to show you how.
Edit Text
Simply move your mouse cursor over the text you want to edit and click.
This will enable editing for that particular line or body of text. From here you have the option to customise the wording, colours, font size, font type, alignment, positioning, bold, line/letter spacing, animation, effects, transparency, and page positioning.
Edit Elements
You can also edit any elements that appear on your template. Elements include shapes, icons, graphics, photos, videos, audio, charts, frames, and grids. You will have a number of different editing options depending on what element you have selected.
Lines & Shapes, Icons and Graphics
These elements really help expand the design aspects of your Canva digital signage. Lines and shapes allow you to section off sections of your design, create background accents, and more. For these elements, users are able to change colours and gradients, crop them to size, rotate and flip, and animate them. This gives you full control over your designs.
Graphics
A slightly new addition to the element lineup is graphics. Graphics provide some pre-made digital signage inspiration. Graphics include gradients, design-inspired shapes, animated stickers, mascots, and more (the list goes on… and it really does). These graphics are a really easy way to make your designs stand out. Slick gradients can help draw attention to certain elements of your screen and give it some flair.
With graphics, your editable options will vary depending on what you’ve selected. If you’ve selected gradients you’ll be able to change colours, size, positioning. If you select some of the other pre-set graphics such as icons, stickers, or mascots your options may be limited.
Photos and Videos
Thanks to integrations with Pexels and Pixabay, Canva has a monstrous library of photos and videos to spice up your designs. Using the search function you can dig out an image or video to suit your needs. I.e. if your design requires a beach background, simply search ‘beach’ in the video or image category. Then, prepare to be spoilt for choice.
To add these media types to your designs simply click on them and they’ll appear right on your canvas. Once they’re in, you’ll have the classic editing options such as re-sizing, positioning, animation, and transparency. For video media, you gain access to some unique editable options. These include cut (changing video length), and video volume.
Audio
Using audio elements in your designs is another great way to capture the attention of your audience. Similar to the photos and videos elements, simply navigate to ‘Audio’ on the Canva studio. Then using the search bar, type in exactly what you’re looking for. Cava have already segmented their music and audio into easy-to-use categories to get you started.
You are also able to hover over an audio file in the search section and press play. This allows you to preview the sounds before you add them to to your design. When you’re happy, simply click on the audio search result. Your audio will now appear in the bottom left of your design studio.
To edit your selected audio, simply click the generated audio card. You will then have the option to choose what segment of the audio file to play and how loud it will play. On Canva, you can’t cut the audio in the same way as videos. Instead, it gives you a pre-set slider bar to drag across the track. The part of the track covered by the slider is what will play. The slider’s length is determined by the length of your content. This is determined by the animation length or video length.
Charts
Charts are a great way to visualise important data. Canva provides its users with a simple way of displaying their data on designs through a variety of chart types.
First, you navigate to elements and scroll down to the ‘Charts’ section. You can then select a chart of your choice. Choices include classic charts such as pie charts, line graphs, bar charts. Or, you can choose less-common chart types to display their data. This includes pictograms, dials, progress rings, and more. When you’re happy, simply click the chart and it will appear on the canvas.
When editing charts, Canva gives us some cool options. First, you have the classic editable elements such as size, fonts, and colours, etc. Some charts, however, will have unique editing options. For example, for pictographs, users can change the icons they chose to represent their data. These include cars, people, money, and food. As a result, users can make their charts look exactly how they want.
Adding data to charts on Canva is extremely simple. First, select the chart you wish to add data to. Then, on the left-hand side, an editable window will appear. Depending on what chart the user has selected will change these options. However, data is often inputted via an integrated table, or via sliders. The charts will update as the data does.
Frames and Grids
Frames and grids are Canva’s solution to ensuring your picture sizing is 100% correct. Many of us (myself included) have spent ages trying to crop an image into the perfect square. Essentially these elements provide a pre-set/sized frame that a user can drag and drop an image into. When dropped, the image will assume the size and shape of the frame or grid. Frames and grids work similarly, however, both serve slightly different purposes.
Frames are completely pre-set. Canva has hundreds of frames to suit a variety of different needs. For example, there are perfect squares, mirrors, letters, numbers, and more. Once the image assumes the size and shape of the frame, the user has the option to change its size and transparency. However, the shape will remain the same, it can’t even be cropped.
Grids work with the same logic, however, work differently. They allow users to evenly group a set number of images in a variety of grid formats. Grids can be made bigger and larger, the images or videos within the grid will automatically re-size themselves. As a result, your design process becomes much easier!
Saving and Downloading Canva Designs
Once you’re happy with your designs, you’ll want to be able to use them! Therefore, you’ll need to download them. You might be downloading your designs for Canva digital signage, or might need your designs to be part of an online presence. Thankfully, Canva has you covered for nearly every possibility!
All you need to do is navigate to the top right corner of your design and press the download button. Once pressed, you will be given some options. You will notice the ‘File type’ section. Depending on the nature of your design, this will be preset to a suggested file type. If you have a preferred file type you wish to download your design in, click the dropdown and select from one of the many options. These include:
- PNG
- JPG
- SVG
- MP4
- GIF
Once you select your file type you can then press download. If you have more than one page in your design, you have the option to select which pages you will include in your final download. Downloads with two or more pages will be saved as a ZIP file (excluding MP4s and GIFs). The downloaded file will then appear in your downloads folder.
Using Canva on Digital Signage Software
Some digital signage CMS actually integrates with Canva directly (psst… we do!). This means you are able to create and upload great-looking Canva designs all in one place.
Here’s how to use Canva digital signage using the TrouDigital CMS.
1. Open the Media Centre
In the TrouDigital studio, ensure you are in the ‘My Creatives’ tab. Then, next to the ‘Create From Template’ button, click ‘Media center’.
2. Locate Canva
You’ll now see all of your wonderful uploaded media.
On the left-hand side of this window, you’ll see a number of our various integrations, including:
- Google Drive
- Dropbox
- Sharepoint
- Canva
- Poster my wall
- Unsplash
- Pixabay
You’ll notice Canva sits within the ‘design yourself section’. Click ‘Canva’.
3. Select a Template
Once you click ‘Canva’, you’ll be taken to the Canva section of the Media Center. To create a design using Canva, press ‘Upload media’.
You’ll then be prompted to choose a resolution for your design. Like earlier in the blog, if you are using a landscape screen, we recommend a template type meeting the dimensions of ‘1920 x 1080’, and if you are using a portrait screen use ‘1080 x 1920’. Select one of these from the dropdown and click ‘Start Design’.
4. Design Content
After you’ve clicked ‘Start design’ the Canva window will open.
You’ll notice that you now have access to the complete Canva design studio. Using the steps above you can create great-looking designs using a series of templates, elements, and other creative content.
The TrouDigital studio version of Canva will require you to log in to your account. This means you’ll have access to all your previously uploaded media files.
Depending on the resolution and template type you’ve chosen, Canva will recommend some great templates to get you started.
5. Adding Canva Digital Signage Content to Your Screens
When you’re happy with your design, it’s time to get them on your screens, and in front of your audience!
Like before, head to the top right of the Canva window and press publish. Your design will now begin to download to the studio.
Your recently created Canva design will now appear in the media center under Canva.
To add this design to your other digital signage content, you will need to select the Canva design and press ‘Add to creatives’, this will add the design to the rest of your digital signage content.
You’ll now see your Canva design has appeared in the ‘My Creatives’ tab. Now all you need to do is add the creative to a playlist, and a screen. As a result, your content will start playing in a few seconds!
Don’t know how to use TrouDigital playlists and screens? Watch our video!
6. Limitations of Integrated Canva
Although we’re extremely excited about the new Canva integration (the office has been raving about it!), there are a couple of limitations to be aware of before creating content directly within the studio.
Video and Animation
At present, Canva can only be integrated with image formats. This means that for the time being if you want to create animated or video-based content, you will need to use Canva externally and upload from there. We hope to introduce video and animation in a future update.
Non-editable
Canva designs are currently exported as image files. This means they are unable to be edited post-publish.
Uploading Canva Designs to Your Digital Signage Software
If your digital signage software doesn’t integrate with Canva, don’t worry! You can still get your awesome designs on your screens.
Simply download your designs in either PNG, JPG, or video format. Then, head over to the media center/library on your digital signage CMS. Press upload or add media. Locate your Canva design within your PC files. Select the design and press upload. The file should now appear in your content library, ready for use on your screens.
Once in your content library, you’ll be able to add your Canva designs amongst your other screen content.
Please note that not all file types are compatible with all digital signage CMS. Please check with your CMS provider first.
Features to Supercharge Your Canva Digital Signage
Google Maps
Another Canva feature you can use within the TrouDigital studio is the Google Maps integration. It is a great way to visualise a location, or given area on a screen.
To use, simply navigate to Google Maps on the left-hand menu. Canva will give you some options for highly popular locations. Or you can type in a custom location/postcode to suit your requirements.
Once you click the map you desire, it will appear in the studio. You then have the option to resize the map. If you double-click within the map, you can actually use the map within the Canva studio. Drag the point of interest around and change the zoom, to suit your needs.
Please note that when published to the studio the map will only appear as a screenshot and won’t contain the latest information.
QR Codes
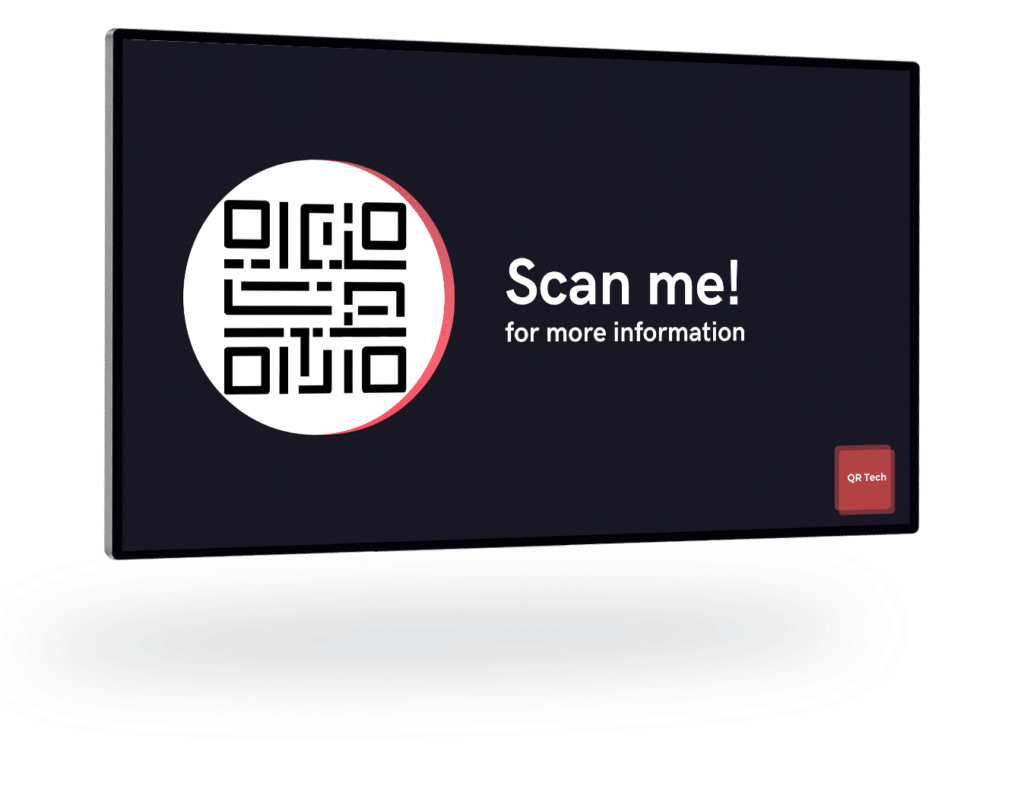
QR codes are one of the most effective methods of increasing screen engagement for digital signage users.
By using a QR code alongside on-screen content, users can simply scan it of their phone and be directed to a video, webpage, or contact form. As a result, this massively reduces sign-up process friction, increasing the chance of engagement and lead capture.
Using Canva QR codes within the TrouDigital studio is easy. When creating your design navigate down the left-hand menu until you reach ‘QR Code’. Then click it.
From here, simply enter the URL you want the QR code to lead to and press the ‘Generate code’ button. Like magic, a fresh, new QR code will appear on your design. You also have options here to change the background colour of the QR code to meet brand guidelines.

If you have any questions related to Canva digital signage, speak to an expert today. Call our friendly team on 02380 981110 or Email info@troudigital.com for a no-obligation consultation. Alternatively, click the button below.
