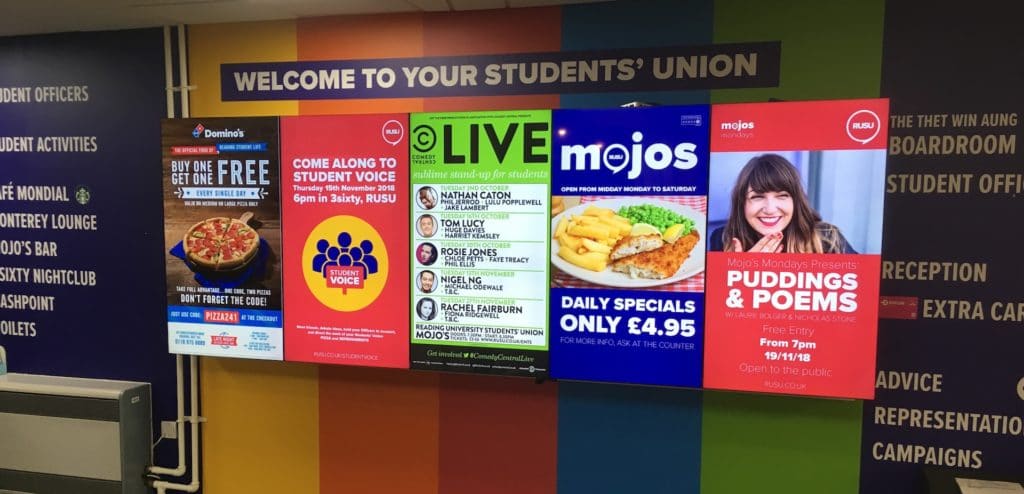
If you are planning a screen project, digital signage installation can sometimes be the daunting part. The good news is there’s no need for this to be the case. Whether you are transforming your existing screens with one of our media players or investing in new monitors, this guide will cover everything you need to know to get your project off the ground.
What if I already have a screen?
If you already have a screen in place you are in luck as a digital signage installation doesn’t get easier than this. Not only have you saved the most expensive aspect of a project, but your screen can be transformed in a couple of minutes.
While some digital signage providers insist on you using their own monitors with inbuilt PCs, we take a different approach providing our users with external Micro PCs to adapt existing displays, repurposing their old hardware.
Our Micro PCs of choice are powered by Android, known for their compact power and reliability at an affordable price. Visually, they look like small black boxes (about 12cm x 12cm). Discrete enough to hide behind your monitor out of site.
All our media players are pre-configured before we send them out to make your life easier. They will be already assigned to your account and set up to auto-play your content when they are plugged in.
All that is left to do is connect them to your internet so they can update your content when you make changes. While this could simply be your WiFi network, whenever possible, we recommend using a wired ethernet source to ensure reliability.
What are my options for installing a new screen?
Broadly speaking, there are at least three different options for installing a new digital signage unit.
A screen can either be mounted:
- on a wall
- from the floor
- or from the ceiling
The size and weight of the screen will need to be taken into consideration as reinforcements for the bracket and wall might be required.
Wall mounted screens are universally popular and straightforward to install. When purchasing a screen mount of any kind, pay attention to its adjustability and maximum weight. Usually, these devices are adjustable within a size range, for example, 32″ to 65″ displays. The ability to tilt the screen can be useful when it comes to accessing the back and the media player that will sit behind it.
For instances when wall mounted displays are not desired or achievable, floor mounted units can be even easier to install and more versatile. They are especially popular for events, exhibitions and tradeshows as many stands can be portable and easy to manoeuvre. The main benefit of a floor mounted stand is you can often avoid drilling into the environment with permanent fixings, although this is subject to the weight of the unit and how exposed it is to tipping.
The third option you have for your installation is a ceiling mounted screen. This setup is especially popular in windows which will be discussed in greater detail shortly.
As a room of thumb, ceiling mounts are more expensive than wall or floor mounting, both in terms of hardware and manual labour. Heavier duty brackets, poles and mounts will be required to ensure stability. A less accessible location can complicate life for an install team, most often requiring a second technician, where one might otherwise be sufficient.
What about installing a screen in my window?
When installing a screen in a window there are two main things to consider: exposure to sunlight and proximity to the window pane.
If you have ever tried to use your laptop outside, you will know that glare on screens from the sun is a real problem for readability. When you add into the mix a thick window pane through which light to and from your digital signage screen has to travel, you can be met with a technical challenge.
To explain the difference, a conventional TV screen you have in your living room might be about 200-300 nits (cd/m²). By contrast, a high brightness screen might have a 1,500cd/m² rating, with mid-level high brightness displays starting at around 700 nits, going up to a whopping 2,500cd/m².
The other thing to consider is proximity to the window pane. Ideally, you want your screen to be fitted as close to the glass as possible to avoid picture distortion. With high brightness monitors this is less important but for installations with 700 nit displays, it can make a big difference.
Hopefully, you now feel more informed about digital signage installation having read this guide. When it comes to media players, our devices are simply ‘plug and play’. While there are a few factors to consider if you are installing a screen, most fitters will handle everything for you. If you would like any further consultation about installation or a digital signage project, please get in touch.
